How to Plan Security Lighting on a Budget: The Definitive Guide
How to plan security lighting on a budget the psychological deterrent of a well-lit perimeter remains one of the most effective, yet frequently misunderstood, components of residential and commercial security. In an era where high-definition surveillance and digital access control dominate the conversation, the foundational role of photons—the literal illumination of the environment—is often treated as an afterthought. However, effective security lighting is not about achieving the highest possible lumen count; it is an exercise in the strategic management of contrast, shadows, and human perception. When resources are finite, the challenge shifts from sheer power to the intellectual rigor of optical placement and systemic efficiency.
A property’s vulnerability is rarely a product of darkness alone, but rather of “Visual Silence”—the presence of unmonitored blind spots created by poor fixture geometry. To address this, a budget-conscious strategy must prioritize the “Security of the Eye” over the “Security of the Switch.” This involves understanding how the human eye (and the digital sensor) adapts to varying light levels. A glaring, poorly aimed floodlight can be more detrimental than no light at all, as it creates deep, pitch-black shadows where an intruder can remain completely invisible while the observer is momentarily blinded by the light source itself.
Planning for an optimized nocturnal environment requires a move away from the “all-on” mentality toward a tiered, responsive architecture. In the United States, where electricity costs and local “Dark Sky” ordinances vary significantly by region, a successful lighting plan must be both fiscally sustainable and legally compliant. By focusing on high-efficacy LEDs, precision motion sensing, and the creative use of existing structural surfaces as reflectors, one can achieve a professional-grade security posture without the capital expenditure typically associated with “Elite” installations. This article serves as a forensic guide to navigating these complexities, offering a roadmap for achieving maximum deterrent value through analytical planning and tactical hardware selection.
Understanding “how to plan security lighting on a budget”
To master the process of how to plan security lighting on a budget, one must first decouple the concept of “luxury” from “effectiveness.” A common misunderstanding in the security industry is that professional results require expensive, industrial-grade luminaires. In reality, the most critical variable is the “Angle of Incidence”—how the light hits a potential intruder. A $30 motion-activated LED spotlight positioned at a 45-degree angle to a side entry is exponentially more effective than a $500 designer fixture that creates a silhouette effect.
A multi-perspective analysis of a budget plan requires looking at “Total Cost of Ownership” (TCO) rather than just the initial purchase price. For example, a solar-powered fixture may have a higher upfront cost than a wired one, but in a location where trenching through concrete would cost $100 per foot, the solar option becomes the “budget” choice by a wide margin. Oversimplification—such as buying the highest-wattage bulb available—often leads to “Disability Glare,” where the light is so bright it prevents the user or their cameras from actually seeing detail.
Furthermore, we must address the “Psychology of the Intruder.” Most opportunistic criminals are not looking for total darkness; they are looking for “Predictability.” A lighting plan that utilizes “Randomized Automation” or “Zonal Triggering” creates an environment of uncertainty. By understanding the “Detection-to-Identification” ratio—the distance at which a person can be seen versus the distance at which they can be recognized—a budget-conscious planner can concentrate their resources on high-traffic “Choke Points” like gates, porch entries, and basement windows, rather than attempting to saturate the entire acreage in light.
Deep Contextual Background: The Evolution of Deterrence
How to plan security lighting on a budget the history of security lighting has moved from “Area Saturation” to “Reactive Precision.” During the Incandescent Era (1950s–1980s), security was synonymous with the 500W halogen floodlight. These units were inexpensive to buy but notoriously expensive to run, often adding $20–$50 to a monthly utility bill if left on all night. More importantly, they were “Dumb” systems; they were either on or off, providing no information about whether a trigger had occurred.
The High-Pressure Sodium (HPS) Transition (1990s) introduced the yellow-orange glow common in street lighting. While more efficient than halogen, HPS had a terrible Color Rendering Index (CRI), making it difficult for witnesses or cameras to distinguish the color of a vehicle or a suspect’s clothing. This era highlighted the fact that visibility and “Visual Information” are not the same thing.
Today, we occupy the Solid-State and Integrated Intelligence Epoch. LEDs have reached a price-to-performance parity that makes them the only logical choice for a budget-conscious plan. We now have access to “Smart Drivers” that allow for dimming, scheduling, and instant-on capabilities that were previously reserved for multi-million dollar commercial facilities. The current challenge is not the cost of the light itself, but the “Information Architecture”—how the light interacts with other budget security tools like smart doorbells and PIR (Passive Infrared) sensors.
Conceptual Frameworks and Optical Mental Models How To Plan Security Lighting On A Budget
Professional security consultants utilize specific mental models to evaluate a site without needing expensive photometric software.
1. The “Contrast Ratio” Framework
This model posits that the human eye detects movement through changes in contrast. If a backyard is 100% lit, a person in dark clothing is easily seen. If it is 100% dark, they are invisible. However, if it is 10% lit with 90% “Hot Spots,” the intruder can move between the shadows undetected. A budget plan should aim for “Uniformity over Intensity,” using multiple lower-powered lights to fill in shadows rather than one massive light that creates them.
2. The “Lighting Zones of Defense”
This framework divides the property into three circles: the Perimeter (the property line), the Shell (the yard), and the Skin (doors and windows). When working on a budget, resources should be allocated from the “Skin” outward. It is more important to light the door a thief is trying to kick in than the fence they already climbed over.
3. The “Ambient Reflection” Logic
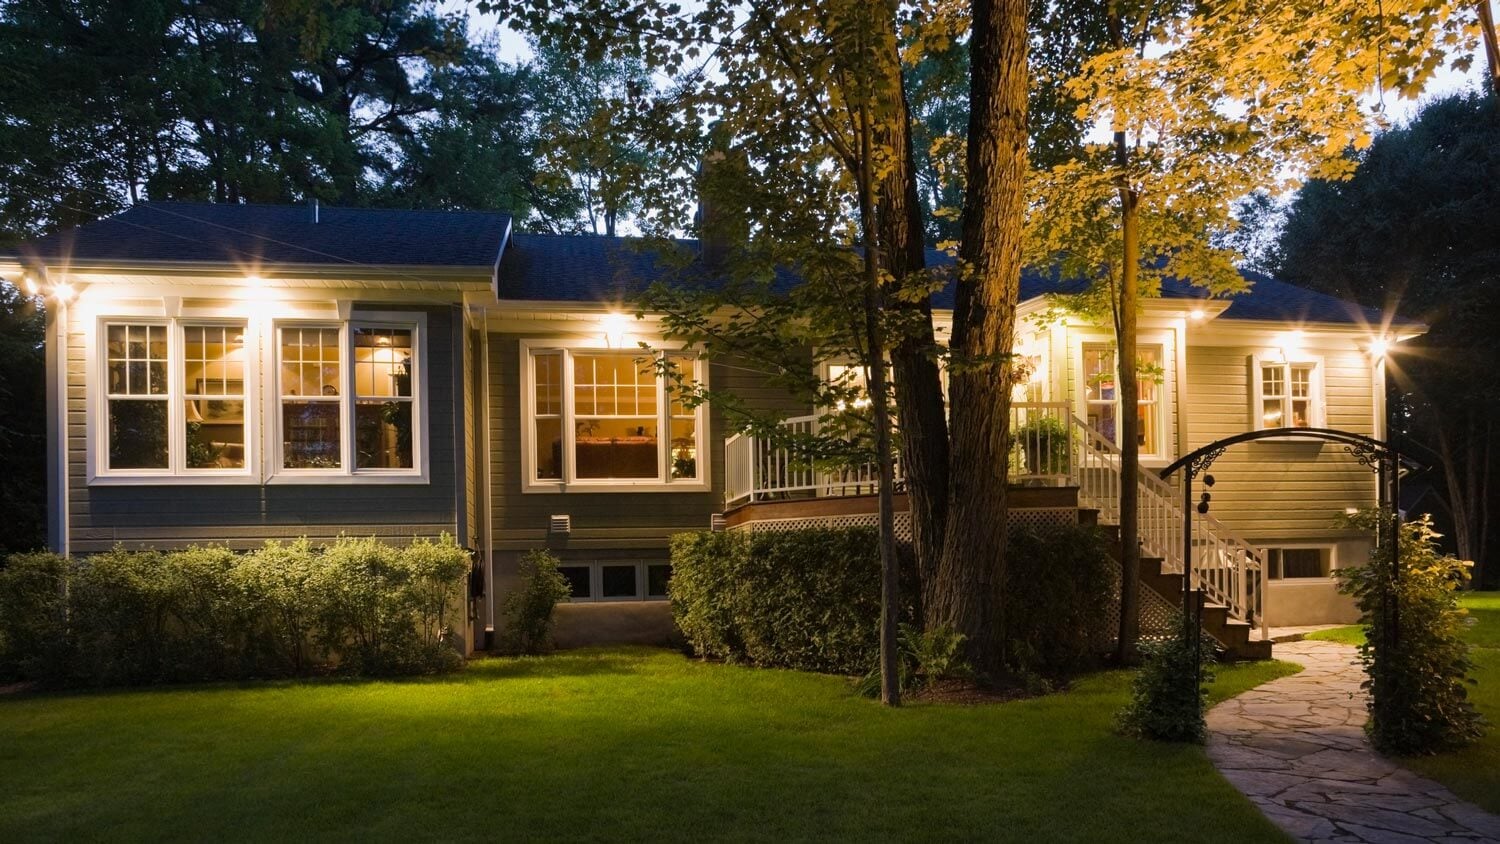
This model encourages the use of light-colored surfaces (white fences, light gravel, pale siding) as secondary reflectors. Instead of aiming a light at the ground, aiming it at a light-colored wall “washes” the area in soft, reflected light. This maximizes the utility of a single low-wattage fixture by using the architecture itself as a lamp.
Key Categories of Cost-Effective Security Lighting
Achieving a high-deterrent environment on a budget involves selecting hardware based on “Operational Efficiency.”
| Category | Primary Benefit | Trade-off | Best Budget Use |
| Motion-Activated LED | Zero energy waste; alerts neighbors. | Occasional false triggers (wind/animals). | Side alleys; driveways; back decks. |
| Dusk-to-Dawn (Low Watt) | Constant baseline deterrent. | Ongoing energy cost (small). | Front porch; house numbers. |
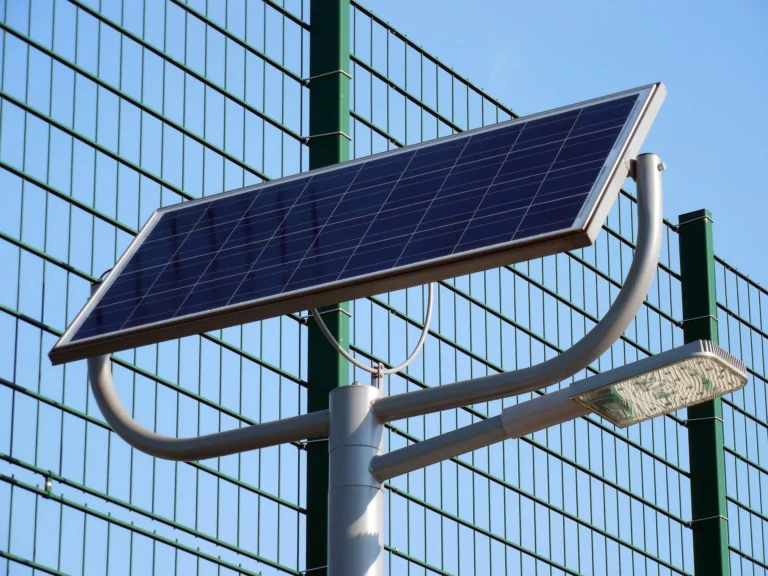
| Integrated Solar Spikes | Zero wiring cost; easy DIY. | Lower lumen output; battery life 2-3 yrs. | Perimeter paths; distant fence lines. |
| LED Barn/Area Lights | Massive coverage area. | High “Light Tresspass” risk. | Large rural lots; detached garages. |
| Smart Bulbs (Existing) | No new hardware; scheduling. | Dependent on Wi-Fi signal. | Front/Rear porch retrofits. |
The decision logic for a budget plan usually prioritizes Motion-Activated units because they provide the highest “Psychological Impact” for the lowest operational cost. The sudden shift from dark to light is a universal signal to an intruder that they have been detected, which is often enough to end an encounter before it begins.
Detailed Real-World Scenarios How To Plan Security Lighting On A Budget and Decision Logic
The Urban Row House
-
The Conflict: Minimal space; proximity to neighbors means “Light Pollution” is a legal risk.
-
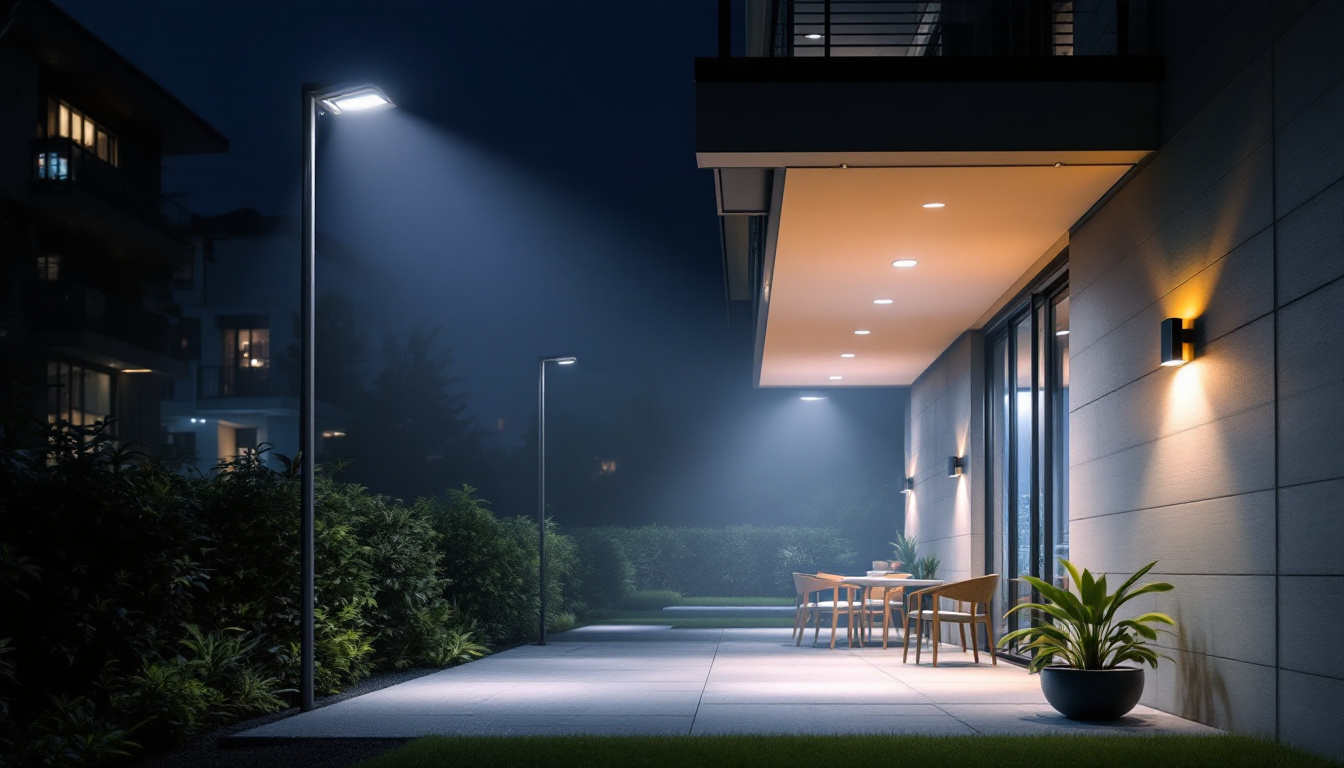
The Strategy: Use “Eyelid” shielded step lights and a single, high-mounted motion sensor aimed downward.
-
The Logic: By shielding the light, you prevent it from shining into the neighbor’s window while keeping the sidewalk and entryway perfectly visible for the resident.
-
Failure Mode: Placing a floodlight above the door that blinds the user when they try to look through the peephole.
The Sprawling Suburban Lot
-
The Conflict: Too much ground to cover with wires; limited budget for professional electrical work.
-
The Strategy: A “Hybrid” approach. Wired LEDs for the house “Skin” and high-quality solar floodlights for the “Perimeter” trees.
-
The Logic: Using solar for the distant areas saves thousands in trenching costs. Keeping the wired lights for the house ensures the most critical entries are lit even after a week of cloudy weather.
-
Failure Mode: Buying cheap, unbranded solar lights that fail after the first freeze.
Planning, Cost, and Resource Dynamics How To Plan Security Lighting On a Budget
A common error in how to plan security lighting on a budget is failing to account for the “Labor vs. Hardware” balance.
| Component | DIY Cost (Estimated) | Professional Cost (Estimated) | “Hidden” Resource Drain |
| LED Floodlight | $30 – $60 | $150 – $300 (incl. labor) | Electricity ($2-$5/year). |
| Solar Wall Light | $25 – $45 | N/A (usually DIY) | Battery replacement ($15 every 2 yrs). |
| Motion Sensor | $15 – $30 | $100 – $200 | Sensitivity “tuning” time. |
| Smart Hub/Timer | $20 – $50 | $150+ | Firmware updates/Wi-Fi signal. |
The “Opportunity Cost” of a poorly planned budget system is the time spent dealing with “False Positives.” If a motion light is triggered by every passing car or a swaying tree branch, the owner—and the neighbors—will eventually ignore it, or worse, unscrew the bulb. Spending an extra 2 hours during the “Planning Phase” to test sensor angles saves hundreds of hours of frustration over the life of the system.
Tools, Strategies, and Support Systems
-
Cardboard “Mockups”: Before drilling holes, use a battery-powered work light and a ladder at night to test different mounting heights and angles.
-
Sensitivity “Masking”: Use electrical tape to partially cover a motion sensor’s lens, narrowing its field of view to only the “Choke Point” and ignoring a busy street.
-
Low-Voltage (12V) Systems: Often safer and easier for DIYers to install than traditional 120V wiring, though they require a transformer.
-
Lux Meter Apps: While not as accurate as professional hardware, smartphone apps can help identify “Dark Holes” in your coverage.
-
Reflective Tape: Placing small strips of high-visibility tape on the edges of stairs or gates helps the user navigate their own lit space safely.
-
“Ghosting” Schedules: Programming smart lights to turn on and off at slightly different times each night to avoid a predictable pattern.
Risk Landscape and Systemic Failure Modes How To Plan Security Lighting On A Budget
Even a well-conceived budget plan is susceptible to “Environmental Decay” and “Strategic Blunders.”
-
The “Blind Spot” Trap: An intruder uses the very light you installed to see what they are doing, while standing in a shadow created by a trash can or a bush.
-
The “Glare Wall”: A light aimed too low that blinds the security camera, causing the footage to look like a white blur (known as “Blooming”).
-
Battery Thermal Death: Solar units in northern climates often fail in winter because the lithium batteries cannot hold a charge in sub-zero temperatures.
-
Insects and Spiders: Spiders love the heat of LED drivers. Their webs across a PIR sensor will trigger the light every time a breeze blows, leading to “Deterrent Fatigue.”
Governance, Maintenance, and Long-Term Adaptation
A security lighting system is a “Perishable Asset.” Without a governance cycle, its effectiveness drops by 10–20% per year.
The Maintenance Checklist:
-
Quarterly: Wipe down the lenses. Dust and cobwebs can reduce light output by 30%.
-
Bi-Annually: Check the sensor aim. Wind and vibrations from garage doors can cause sensors to “sag” over time.
-
Annually: Inspect the wire junctions. For budget DIY systems, wire nuts and tape can degrade, leading to shorts or flickering.
-
Review Cycle: Every year, look at the growth of your landscaping. A hedge that was 2 feet tall during installation might now be blocking a critical light path.
Measurement, Tracking, and Evaluation How To Plan Security Lighting On a Budget
-
Leading Indicator: “Sensor Reliability.” If you walk your property and the lights trigger 100% of the time in the right zones, the system is healthy.
-
Lagging Indicator: “Incident Reports.” A lack of attempted break-ins is a positive sign, but “Near Misses” (e.g., finding footprints near a lit gate) indicate the deterrent is working.
-
Qualitative Signal: “The Peephole Test.” At 10 PM, look through your front door peephole. If you can see the face of a person standing 10 feet away clearly, the lighting is successful.
Common Misconceptions and Strategic Errors
-
“Solar is always cheaper.” If the area is used for high-security, the cost of replacing dead batteries in cheap solar units often exceeds the cost of a single wired LED run.
-
“More lights make it safer.” Too many lights can make it easier for a thief to see their tools. The goal is to light the intruder, not the lock.
-
“Motion lights are annoying.” They are only annoying if they are poorly aimed. A well-tuned sensor is a silent sentinel.
-
“I need colored lights for security.” Standard white (4000K–5000K) is generally best for camera clarity and human identification.
-
“I can just use my porch light.” A porch light usually lights the resident as they open the door, making them a target. Security light should be aimed away from the resident and toward the approach.
Ethical and Practical Considerations How To Plan Security Lighting On a Budget
In the pursuit of security, we must not ignore the “Ecological Footprint” of our lighting. “Light Pollution” is a significant concern in the USA, affecting migratory birds and local ecosystems. A budget-conscious plan is inherently more ethical because it avoids “Lumen Overkill.”
Conclusion
The effective orchestration of photons as a security measure is a study in the balance of physics, psychology, and fiscal restraint. To master how to plan security lighting on a budget is to accept that deterrence is a product of intelligence, not just equipment. It requires the patience to map out shadows, the analytical depth to understand “Disability Glare,” and the editorial judgment to prioritize “Skin Defense” over “Perimeter Saturation.”